 Nut
Nut© Copyright 2016 Dell Sweet
Bone: Why
There are many reasons people have to use one type of material over another type on their acoustic guitars. Plastic ABS is the material of choice on lower end acoustic guitars. It's easy to mass produce. It's fairly easy to install. It is cast in a few widely used string spacings and so there is very little setup. Glue it in and you're done. And it doesn't sound bad to most ears, that is until you hear something else like, brass, wood or bone.
The choices you make between saddle and nut can completely change the tone and even the feel of the guitar you thought you knew. So the reasons are tonal difference and some playing differences too. I like Bone because of the deep resonance and clarity it gives to the sound. The same guitar set up with ABS or Bone will sound completely different to even an untrained or novice ear.
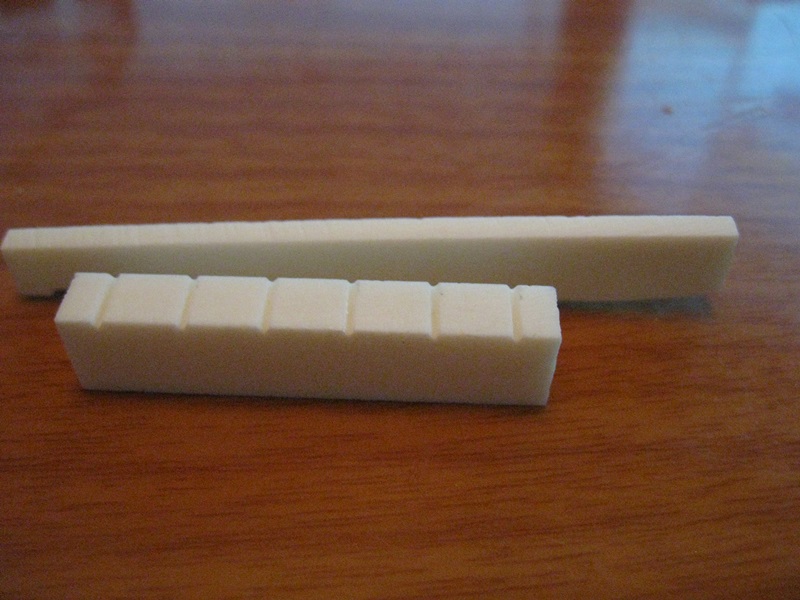
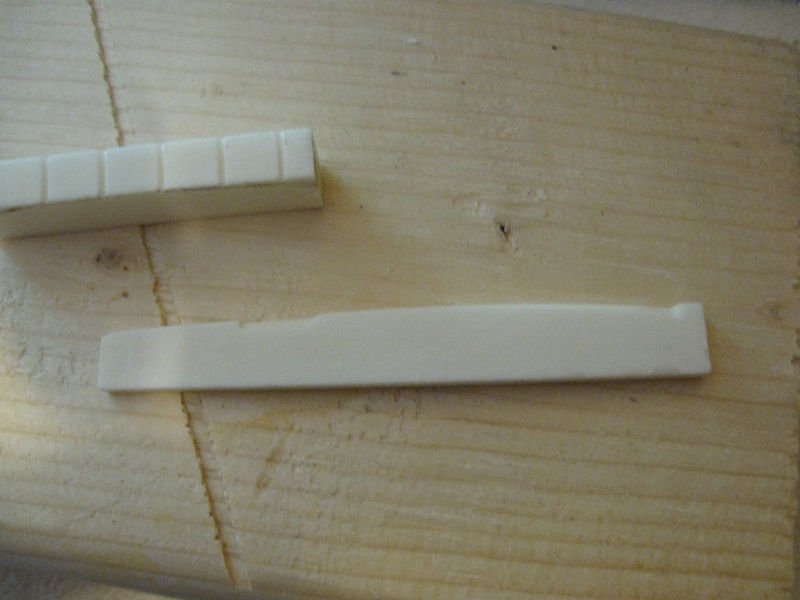
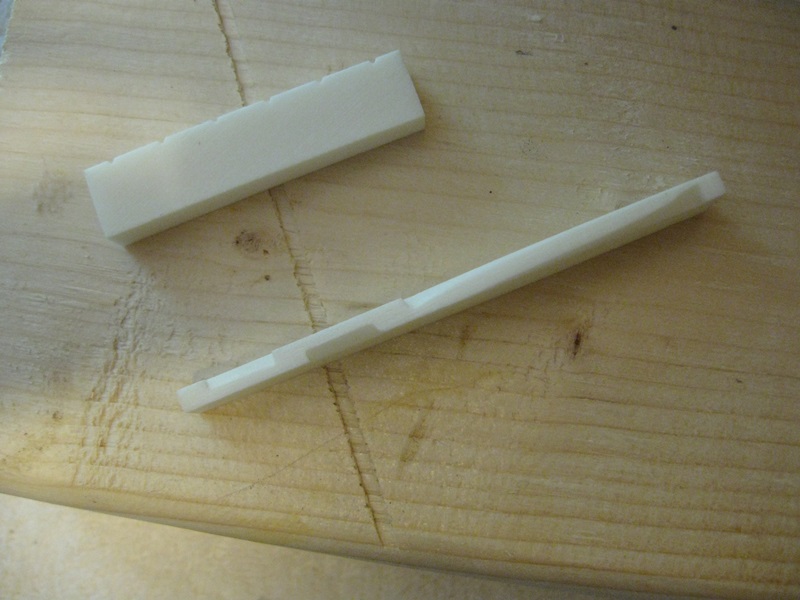
Blanks
You can pick up bone blanks reasonably on eBay. They are sold in sets, or singley. There are many sellers, and for the most part bone is bone, but you want to make sure that the bone has been properly dried and prepared. Ask questions of the seller to determine that. This set came with the basic slots for the nut and the basic shape for the saddle. For me the nut slots will be useless by the time I shape the nut, but if I were working on a classical guitar or other instrument with a flat fretboard it would useful. The saddle is another matter. Although I will be shaping it to fit this guitar's radius, I shouldn't lose the shape and the layout in the process. It is useful and it will save me time.
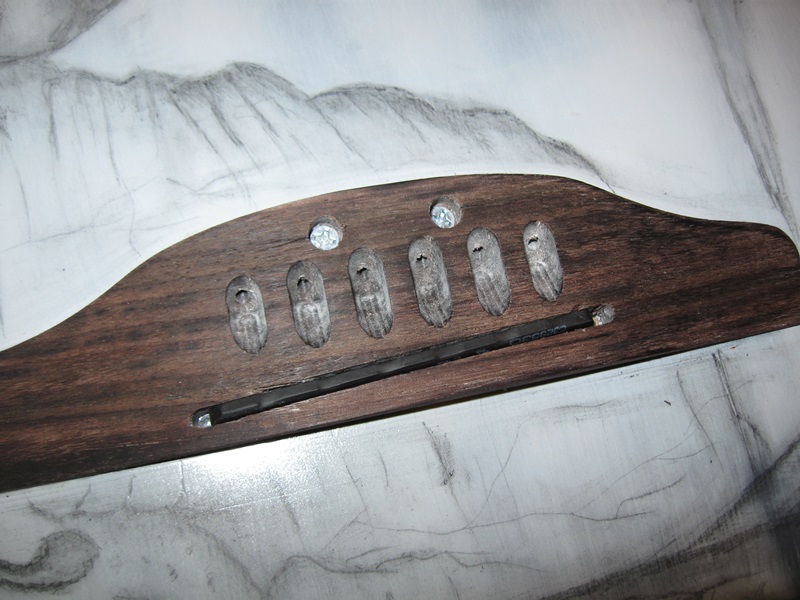
Saddle
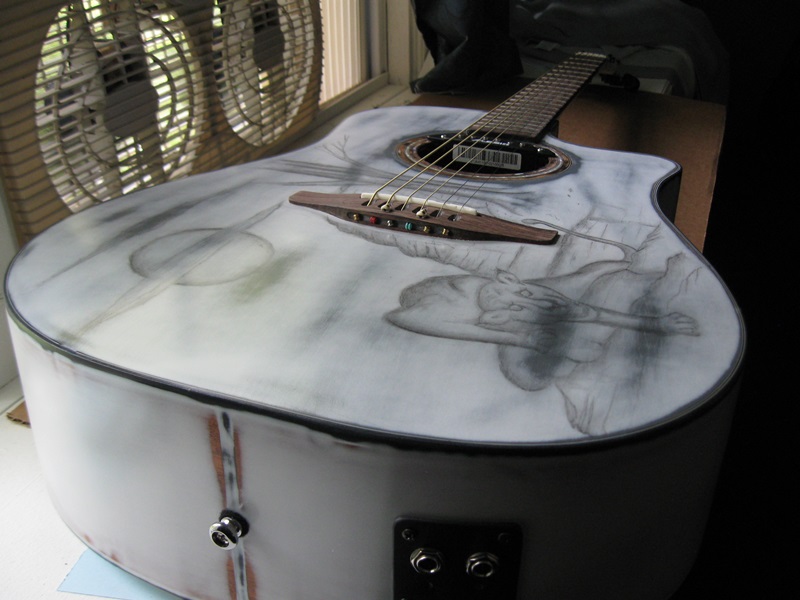
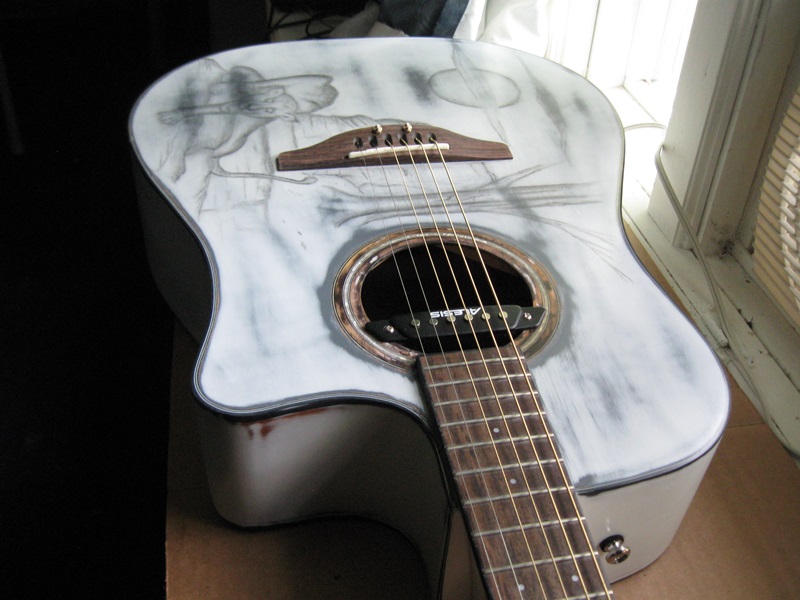
This is an Ovation type bridge on a Fender body. The bridge is mounted and the radius will be cut into the saddle to match the fretboard. The Piezo pickup has been installed because I want to know the height for the saddle before I begin to shape.
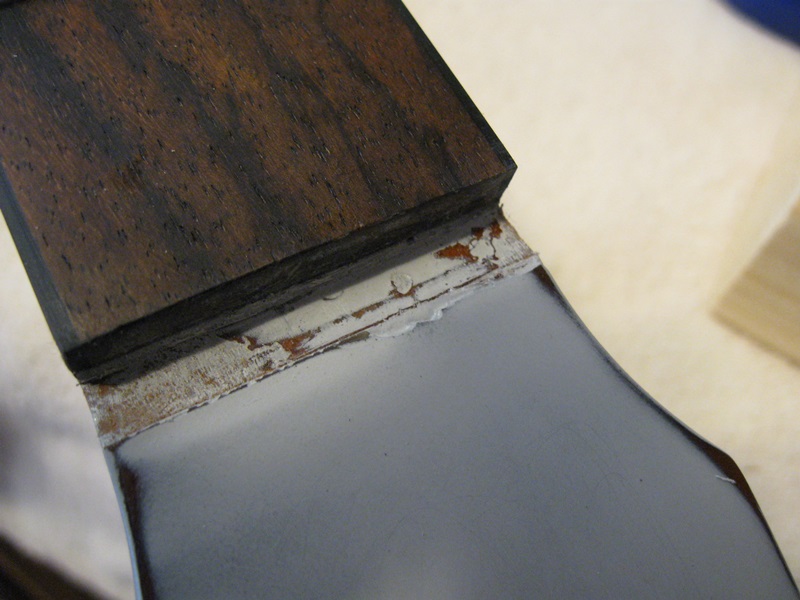
Nut
The slot has been cleaned up with a wood chisel. I like to use very sharp chisels to do work. It is very easy to remove material with either side of the blade and get a flat surface without digging in too deep. In this case this donor body, a Fender CD60 had a snapped headstock. I decided to set it up as a studio guitar. Strictly for recording. We came up with an oddball paint scheme and a drawing across the front. All low key stuff, but my main goal was a guitar that had the sound I wanted, and that meant bone saddle and nut.
 Radius
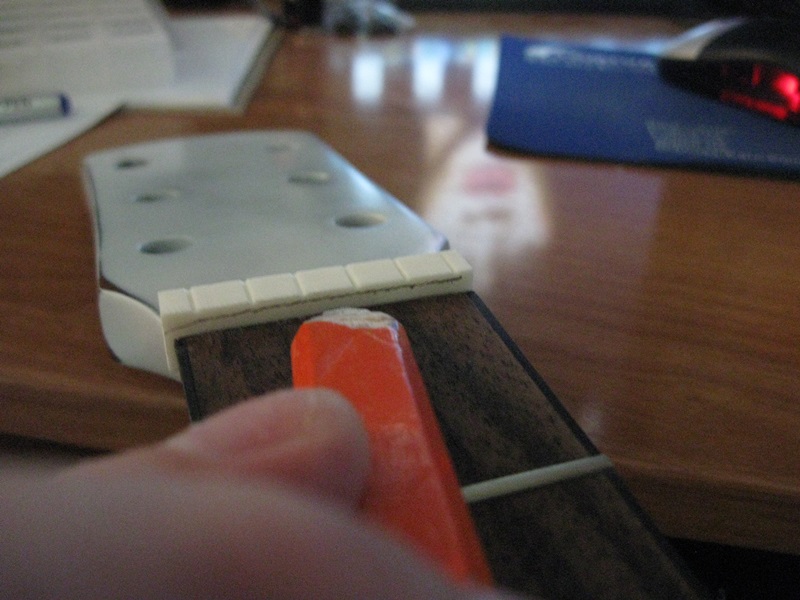
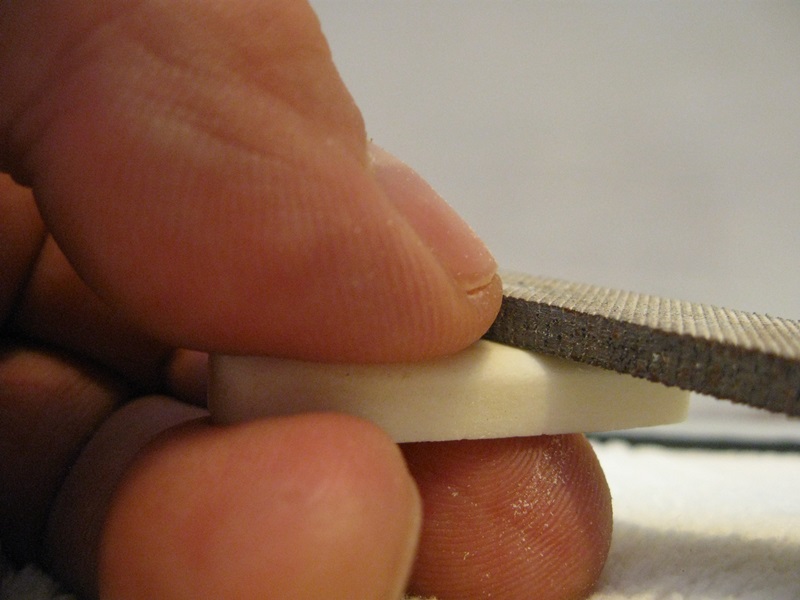
I am using a flat carpenters pencil to transfer the radius of my fret board onto the nut. This is after I have leveled the frets and redressed them. You can see the outline of the radius on the nut. You can also see why I said it would do me no good to have the slots. They will be lost when I take the nut down to the proper radius.
There are two ways to do this. I can do it with files or I can do it with a bench sander. Either method will work equally well. It is a matter of preference. I will use both.
I will remove a small amount of material from the bottom of the saddle at this point, to make up for the height of the piezo pickup that is now going to mount under the saddle, but I will not begin the radius on the saddle until I have finished the nut and strung up the instrument.
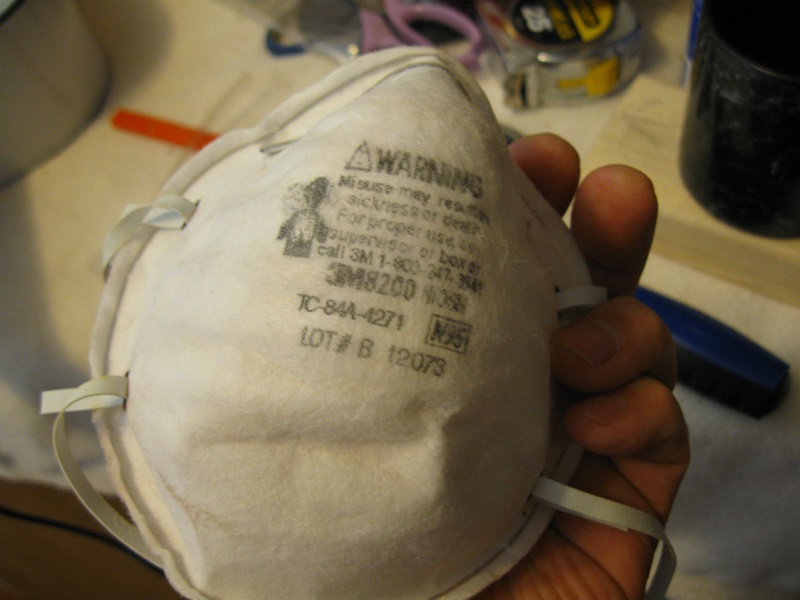
Safety
Wear a mask. Bone is natural substance and you don't want to fool with your lungs and body. A good mask is cheap. Get one and wear it. Wear gloves or clean your hands well after doing the work, or both.

Files
You are going to take off the material down to the pencil line you drew. This is a preliminary shaping, not the final product, so we are just rough shaping.
I use many types and sizes of files. This is a pair of fine toothed flat files. Perfect for rough shaping both the nut and the saddle.
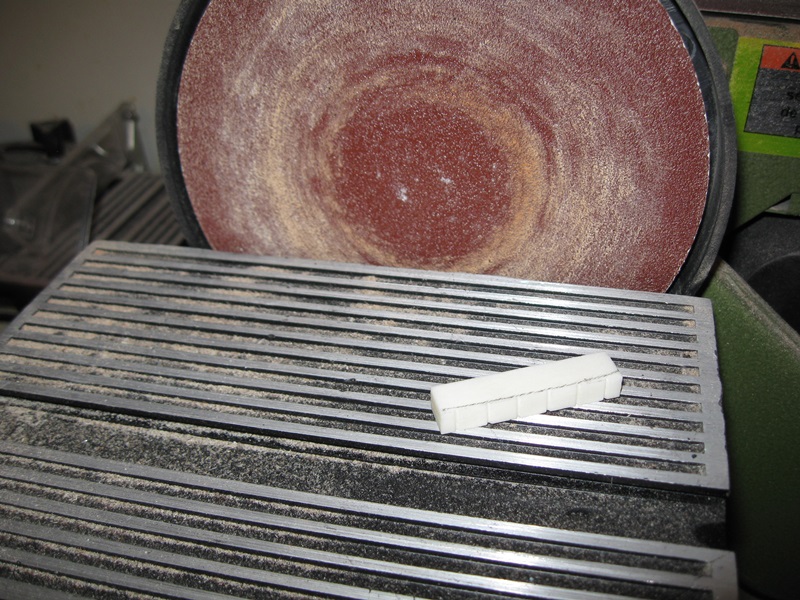
Bench Sander
I have taken the nut down to the line and cleaned it up on the bench sander. I will take that and test fit it to the headstock slot. Once I am sure I have the correct radius I will rough shape the balance of the nut with the file: Gently rounding the back and sides. You know what a nut should look like and so that is your guide. If you have your old plastic nut, take a look at it. Use it as a pattern to shape this nut. Once you have it rough shaped move on to 220 sandpaper and smoothing the file and bench sander marks out of the bone. At this time you will also want to make the nut the correct width. This is best done with the file a small amount at a time until your nut is just slightly over the headstock width. Then finish sanding with 220 grit, 340, 400 and 1000 will bring you to a flush mount. When finished with your shaping you should have a nut ready to mount and cut basic slots into.
Files
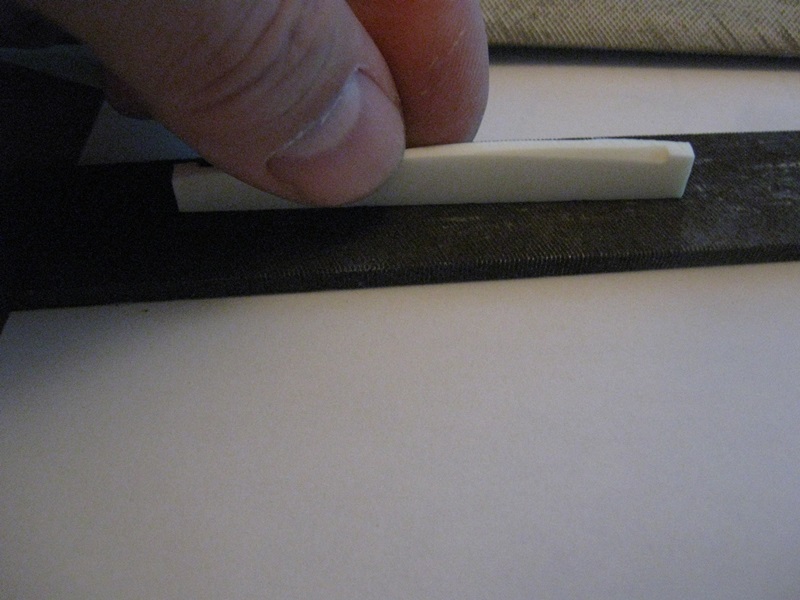
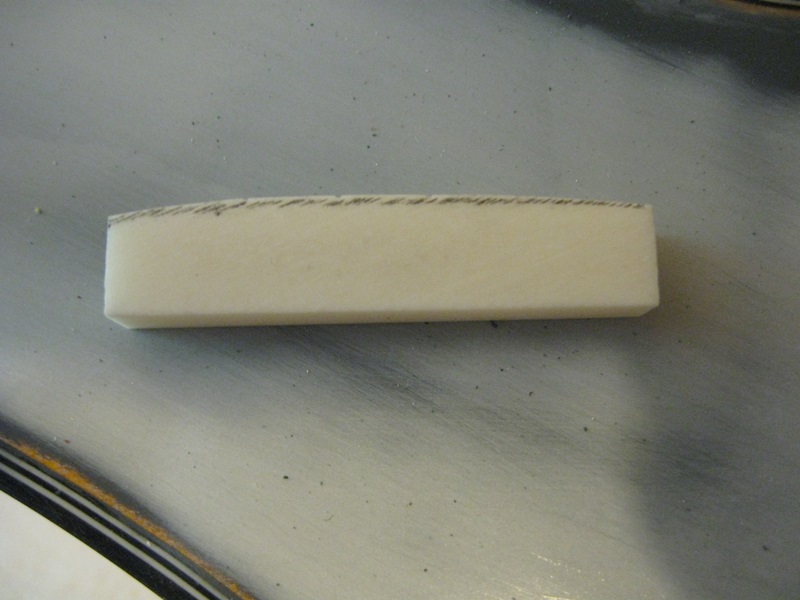
I work on the pull stroke. It gives me more control, but I know others who like to use the push stroke to cut. It is a matter of your preference, where you feel the most in control. This is our rough shaped nut nearly ready to cut slots into.

Marking the slots
This is the basic cut. I have laid out my cut marks with pencil. I came in 1/8" on each side of the nut to allow for plenty of room for the string. Cutting this mark too close to the outside is going to cause problems when you grab a chord or bend a chord, or even try to make a chord. Your string will slip over the edge of the fretboard. This is called falling off the porch. So start with that 1/8" inward on each side. The rest is math. Take the remaining space and divide it to space the remaining strings correctly. You need five equally spaced sections in between your original marks. There are gauges you can buy to do this that will give you reasonable or standard spacings, but you can easily arrive at the same numbers yourself.
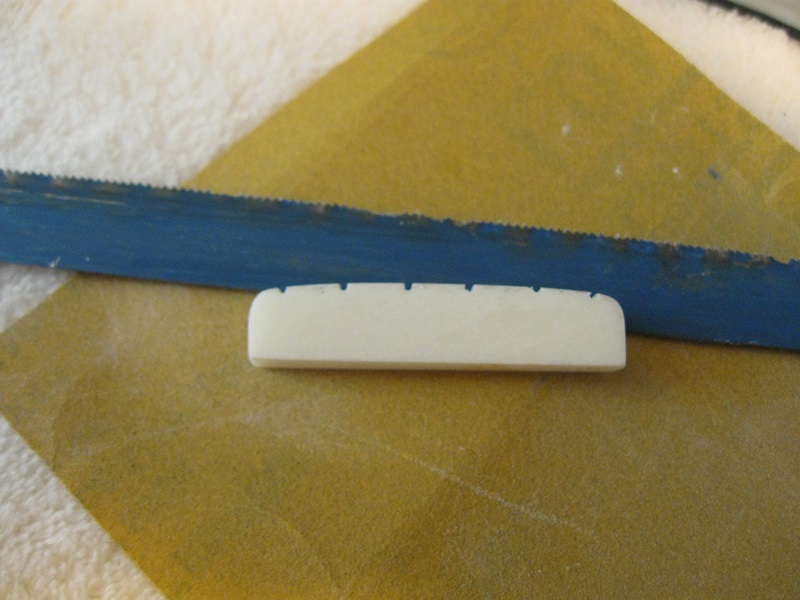
Cutting the slots
I use a hacksaw blade to cut my slots. This is a thin metal blade and it works perfectly. You can see where I have made my cuts. They are not deep I have purposely left them high so that I can cut them deeper as needed, once the nut is mounted and I am setting the action. I have also finished most of the shaping and sanding on this nut.

Final
cuts and shaping.
I have now mounted the nut. I used no glue because I have not finished the cuts and shaping on this nut yet. With the strings mounted I will choose one end to work from, either the nut or the bridge end. There isn't much to illustrate here. You are looking for your own taste and level of playability. Again, you can use the old plastic nut as a reference, but generally that is not going to provide the best outcome. What I do is add the saddle and then drop the strings into the small shallow slots of the nut. This leaves me with horrible action. The strings are somewhere between an 1/8 and a 1/4" off the frets at the nut, worse as you travel down the fretboard. One thing you do have now is your radius from your nut. You copied that with the carpenters pencil and you took down the nut to match it. It is now time to transfer that to the saddle.

Saddle
With the strings on but loose I have notched a line in the saddle and taken it down to where the strings sit in that arch. This sounds difficult but it isn't. Look at the nut, look at the strings and you will see they have a radius that peeks in the middle and drops off either side.What you are doing is watching the gap at the nut compared to the gap at the end of the fretboard near the sound hole. As you lower that notch in the saddle that gap will close, and as you go string to string you will see your radius take form. Now we are doing this with both the saddle and the nut over height, and we are doing that so that we have a lot of space to play with as we get the saddle radius right. You can purchase a gauge to determine the radius as well, but you can get it this way very fast too. Once you have the radius notches cut, the strings sitting in them, loosen the strings and remove the saddle. With your file take the saddle down to those notches you cut and you will have a radius that is compound to your bridge/nut setup.
Reinstall the saddle, tighten the strings and work on lowering that radius string by string to the action you want. I like my strings at the nut end about 1/16" inch off the fretboard. I like heavy strings and with this setup the action is perfect for me. Your tastes are your own. So take each string down slowly by cutting the notch in the nut until you have it that 1/16", more or less, at the front of the nut (Fretboard side) and then drop the saddle slowly at the other end by cutting a notch under that string until you have the action you prefer. In most cases, if you are attempting this, you already have an idea of the action you prefer. Things to keep in mind while you do this: You can not uncut a slot. Make sure you take small amounts of material until you get where you want to be. When you are slotting the nut deeper, make sure you are at an angle back to the headstock. Take a look at the string angle. It doesn't break over the nut flat, it approaches at an angle and breaks over at the edge nearest the fretboard. So make sure you slot matches that angle. You will get better contact on the nut and avoid intonation issues that could arise from the string bridging out in the middle of the nut or somewhere else that is not to scale.
Final shaping and setup
Take your time: When you are happy with the action, loosen the strings once more and reshape the saddle to drop it down to the notch tops you created as you set it up. Remove the nut and do the same thing, shaping the nut so that you leave about 1/16" of depth to the slot to hold the string. You may take it down a little further on the lower strings but be careful not to remove too much material. Final sand the nut and saddle and reinstall them. You can glue the nut at this point if you want to, but if you have a well shaped nut it isn't going anywhere. If you do glue it, remember to glue just one surface, not the fretboard and the slot bottom, as different woods expand and contract at different rates and it could cause problems for you. If you do glue it, just a few small drops of instant glue will suffice. String the instrument back up and play it.
Finish
You can apply any of these basics to almost any other material, wood, brass, just adjust your methods to the material. The main thing to remember is that you have a lot of time to do this. It isn't a race, take your time. Play a few guitars. Find something you like and look at the setup. How far are the strings off the fretboard at the nut? How is the saddle shaped? Take measurements, don't trust your eye, unless it is better than mine. A very small measurement difference can make a major change. Remember to use the strings you prefer. Yes, you may break a string or two as you do the setup, but do not be tempted to buy cheaper strings, or strings of a different grade to do the setup. Different gauge setups require a different setup to achieve similar results. So, start with the strings you usually play and go from there.
I hope you have learned something from this, Geo Dell.
Check out the Fender CD-60 build below that this nut and saddle were made for.